Monday, June 21, 2010

Ruffled Tank


Here is an easy way to create a cute ruffled shirt.

First you are going to want to cut your fabric piece.  You will cut one piece about 3x15''
Photobucket
Next you are going to turn under both long piece and stitch a rolled hem.  If that is too hard, just iron and create the smallest hem possible.

Next you are going to do a gathering stitch at the top of the fabric.

To do a gathering stitch, lengthen the stitch length to about 5 and make a straight stitch about 1/4'' from top of the fabric.

Next pull the right bottom thread, while holding the left bottom thread.  Gather to the length that you like.
Photobucket
Pin the ruffle to the shirt and then top stitch close to the edge of the fabric, making sure to catch the ruffle.
Photobucket
Remove the pins and wear!  If you get tired of your fabric choice, just remove and redo.
Photobucket

Thursday, June 17, 2010

Pineapple Zucchini Cake with Cream Cheese Frosting


We have had lots of zucchini in our house lately and I stumbled across this recipe on a blog called www.skinnytaste.com.

Hesitant to try, I decide to give it a go.  I know you are thinking, "zucchini in a cake?"  But trust me it is so yummy!

Below is the link!  I left out the coconut and ginger, just because I didn't have it.

Pineapple Zucchini Cake with Cream Cheese Frosting!

Tuesday, June 8, 2010

Homemade Baby Wipes

Have you ever thought about making baby wipes?  It is simple and a quick project, that can also save you some money.

What will you need?
Pot
Good Strong Paper Towels (Ex. Bounty)
Sharp Knife
2 Cups Water
2 Tablespoons Baby Oil
2 Tablespoons Baby Shampoo/Wash
Round Plastic container to hold wipes

Here are the easy steps...

1.  Boil the water and let cool
2.  Add Baby Oil and Baby Wash
3.  Cut Paper towel roll in half with sharp knife (If you have a handy husband get him to saw in with a miter saw!)
4.  Remove cardboard and place towel roll cut side down into the container.
5.  Pour liquid over the 1/2 roll of wipes
6.  All wipes to sit and absorb liquid, then turn upside down for 10 minutes.
7.  Start using the wipes by pulling out of the center of the roll.


How to Make a Pair of Toddler Shorts

I was making a pair of shorts for Buddy and thought that I would share how to do this.

A pair of shorts is about the easiest thing to make.  You can get creative and add a pocket to the sides or a ruffle for girls. Depending on how creative you get, but a simple pair can be made in about 30 minutes!

First you need a pattern.  Any shorts pattern will do (there are lots of cheap patterns that are great!) or you can just lay a pair of shorts down and use them as your pattern, but for me I am using the "Michael" pattern by Children's Corner.

You may choose to finish the seams of the shorts many ways (serger, zigzag raw edge, french seam, or use pinking shears)
Photobucket
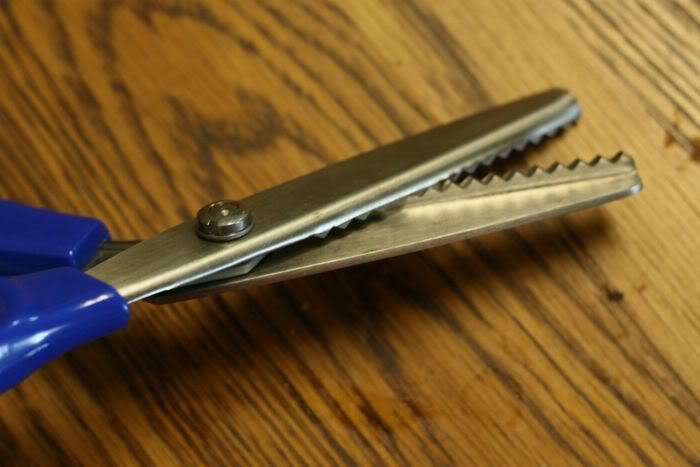
For the fast and easy pair of play shorts, I am just going to use pinking shears.  These scissors create a special edge that has minimal fraying and you do not have to finish the edge with a zigzag stitch)

As you get more advanced, try to do a french seam.  I need to post a "how to" on that I guess :)

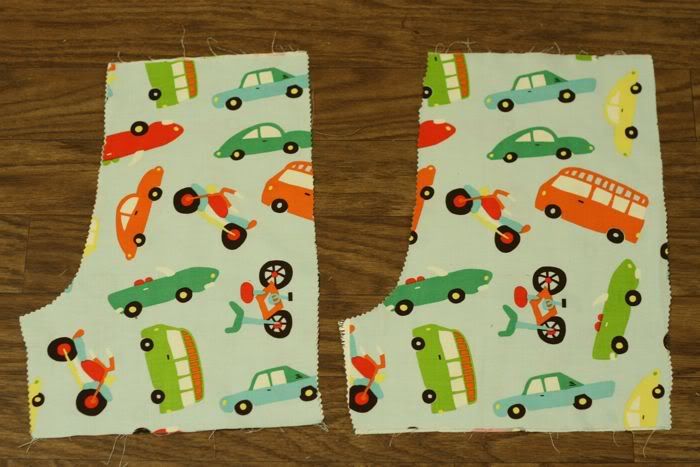
First cut out the front and back pattern of the shorts.  You will have 2 fronts and 2 backs that mirror each other.
Photobucket
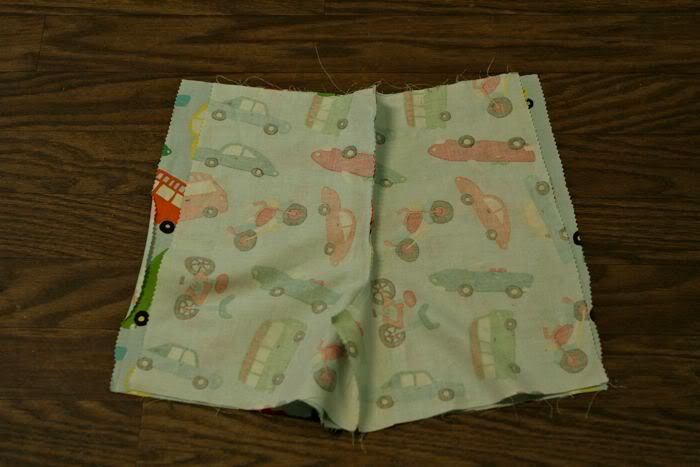
Next place right sides of the fabric together and sew down the curved side seam of the front.
Now place right sides of the fabric together and sew down the curved side seam of the back.

You will now have a front and back part to your shorts and place them right sides together.
Photobucket
Sew down the right and and left side seams of the shorts.

Next sew the crotch (i hate that word).
Photobucket
You will need to use your iron next.

Iron about 1/4'' under around the bottom of the shorts and then about 1'' again.  This will create the hem.
Photobucket
Photobucket
Now iron to create the casing for the elastic of the shorts by ironing 1/4'' and then about 1.25''
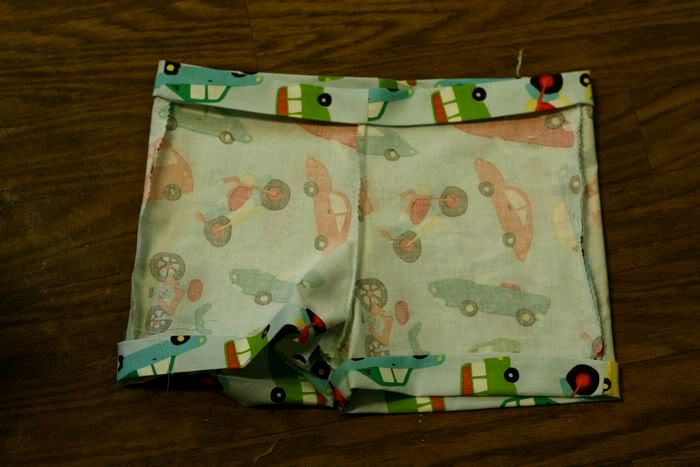
You should have it look something like this.
Photobucket
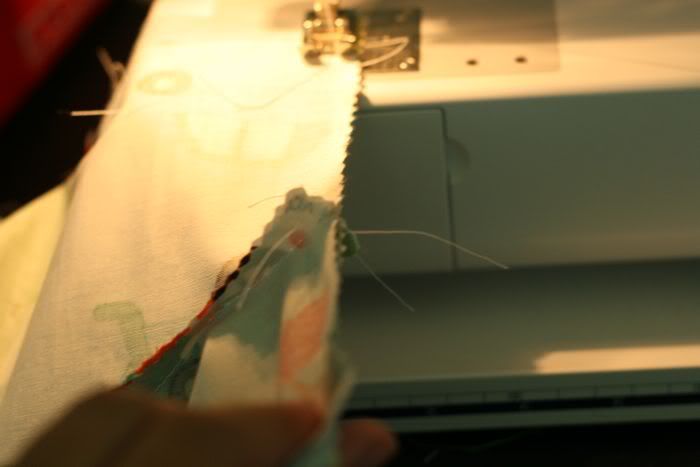
Top stitch around the edge of the hem.
Photobucket
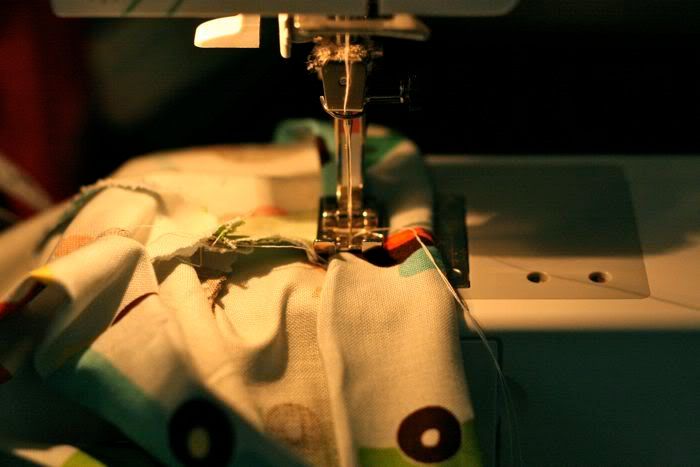
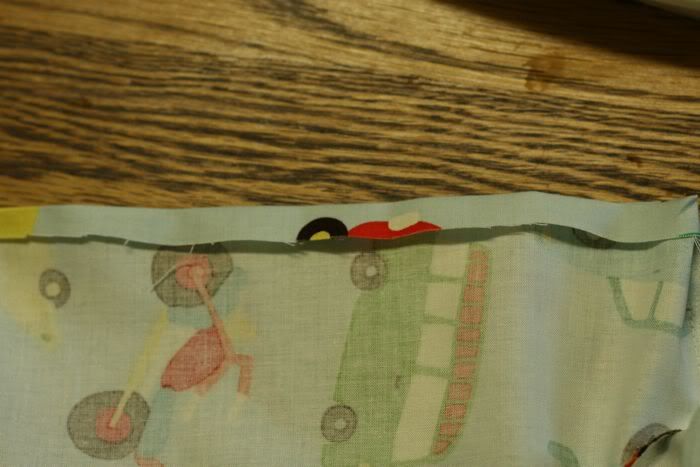
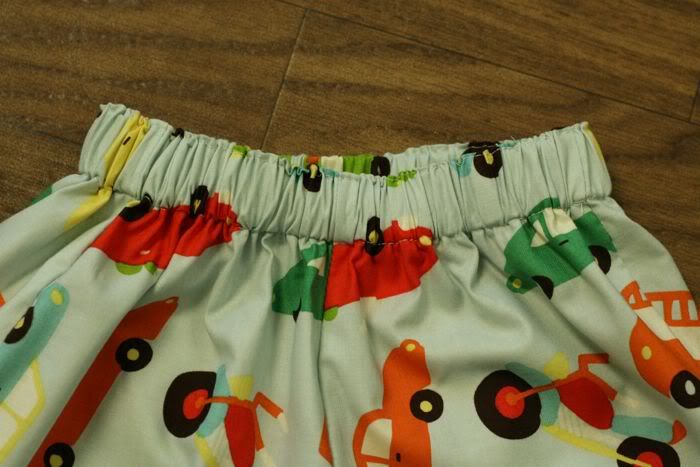
Next top stitch around the waist to create the casing, leaving about 3'' opening for the elastic.

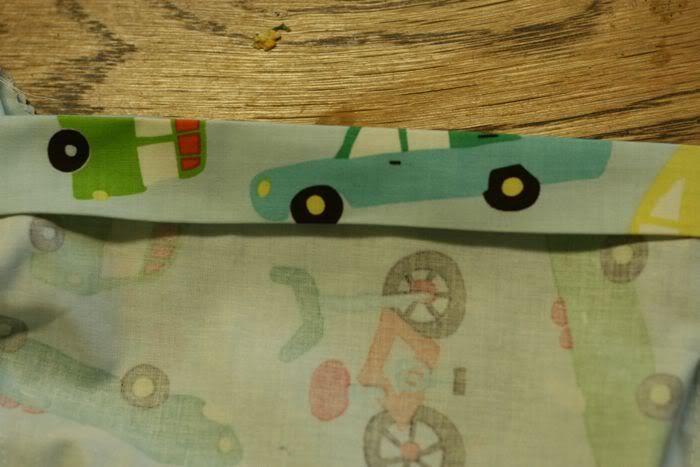
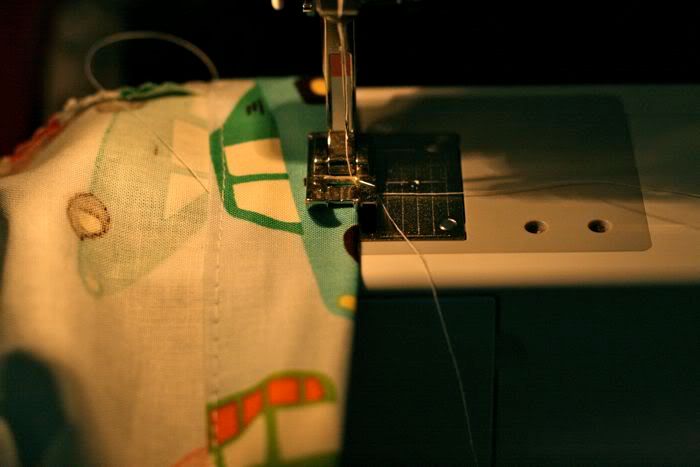
To create a more finished look topstitch along the edge of the casing at the top of the shorts.
Photobucket
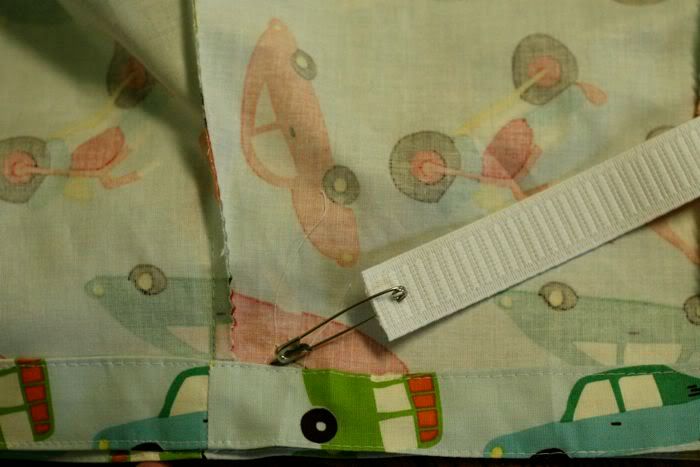
Measure your little one's waist and subtract 2 inches for your elastic measurement. (EX.  Mine was 20'', so I cut my elastic 18''  long)

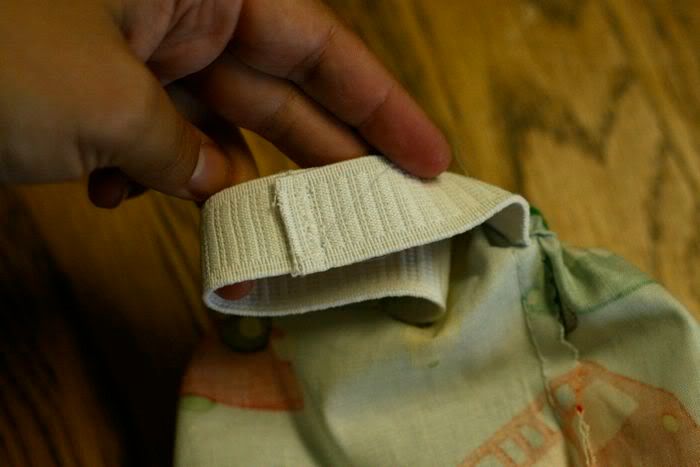
Attach a safety pin, and thread the elastic through the casing.
Photobucket
Photobucket
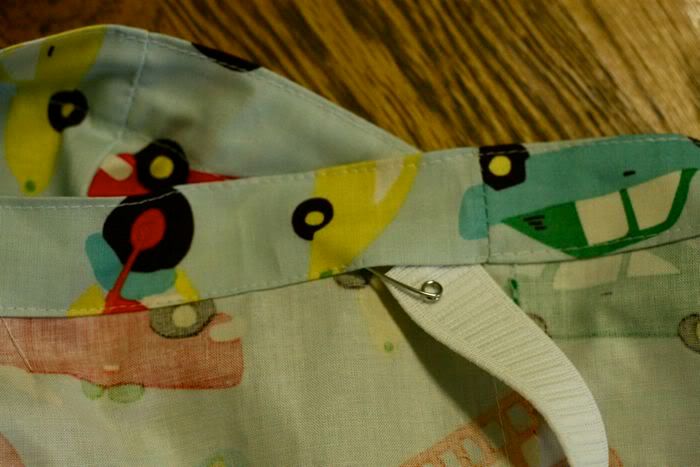
Zigzag elastic ends together.
Photobucket
Now close the opening by topstitching!
Photobucket
Photobucket


Photobucket


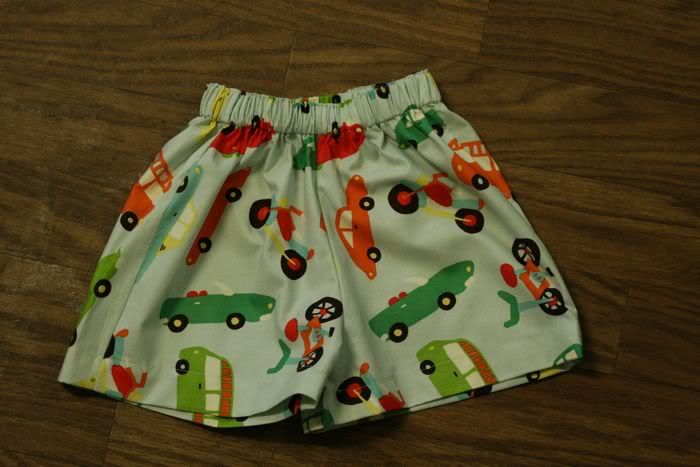
Congratulations!!!  PLEASE email me if you have any questions at jamaketcham@gmail.com

Thursday, June 3, 2010

Scrappy Purse


This purse was inspired by the fromanigloo.blogspot.com and is the Scrappy Clutch tutorial.

However, a few modifications were made to make a much bigger and a more functional purse for me :)  I need to put a few more things in it... like diapers!

So I altered the pattern and made these measurements:
16'' x 8" for the bottom pieces
13" x 4" for the top bands
6" x 20" for each of the straps

Follow the direction except place the straps in between the top band(yellow) and the bottom of the purse(white).

This is a great purse to make, using all of the left over fabric you feel bad about throwing away.  The inside of the purse can also be as fun and beautiful as the outside!

Happy Sewing!
Related Posts with Thumbnails